
I grew up in a house full of boys which meant lots of sports, cars, and dirt. I was your biggest tomboy and didn’t wear a dress by my own choosing until I was like 15 (not kidding). I was a tough chick, I know my cars, i’m good at sports, and I have a passion for the outdoors… but I wince every time I look back at family albums. Backwards hats, grubby boy clothes… oh dear lord.. LOL.
Honestly, I wouldn’t change a thing about it, it taught me a balance between being a girly-girl and not taking myself so seriously. I spent most of my days outdoors, building forts, riding horses, or playing soccer. This is something I want to make sure I teach my own girls in time.
Fast forward a few years – I married a total man’s man, think fast cars, sports, hot wings, and things that go “boom”. All of my animals are boys too! SO needless to say, I am LOVING having a baby girl to dress up! I don’t go too overboard, but I love the pink, bows, and sparkles! I want to live it up until the day comes where she starts to pull the bows out of her hair and decides running around the house in just diapers is more fun. Hence my wanting to make a few princess tutus 🙂 I did a couple of “no-sew” tutus and wanted to share!
DIY: How to Make Tutus!

So I’ll start by saying I made two different versions because I wasn’t sure how they were going to turn out. For the pink one, I used a crochet headband and for the maroon one, I used a simple piece of elastic (you could even use a long ribbon).

Materials:
- Tulle (I used two rolls per tutu. I used two shades of pink for the crochet version)
- Scissors
- Needle & thread (if you are using elastic)
- Elastic (I used 1/2″) or Crochet Headband
- 2 pieces of Cardboard (cut to size tutu you are making)


- Measure your baby to determine the size elastic you will need (I did 3-6 mo for baby G – So I cut 13″ of elastic and sewed the ends together (you could also probably tie or use a hot glue gun to bind the ends together).
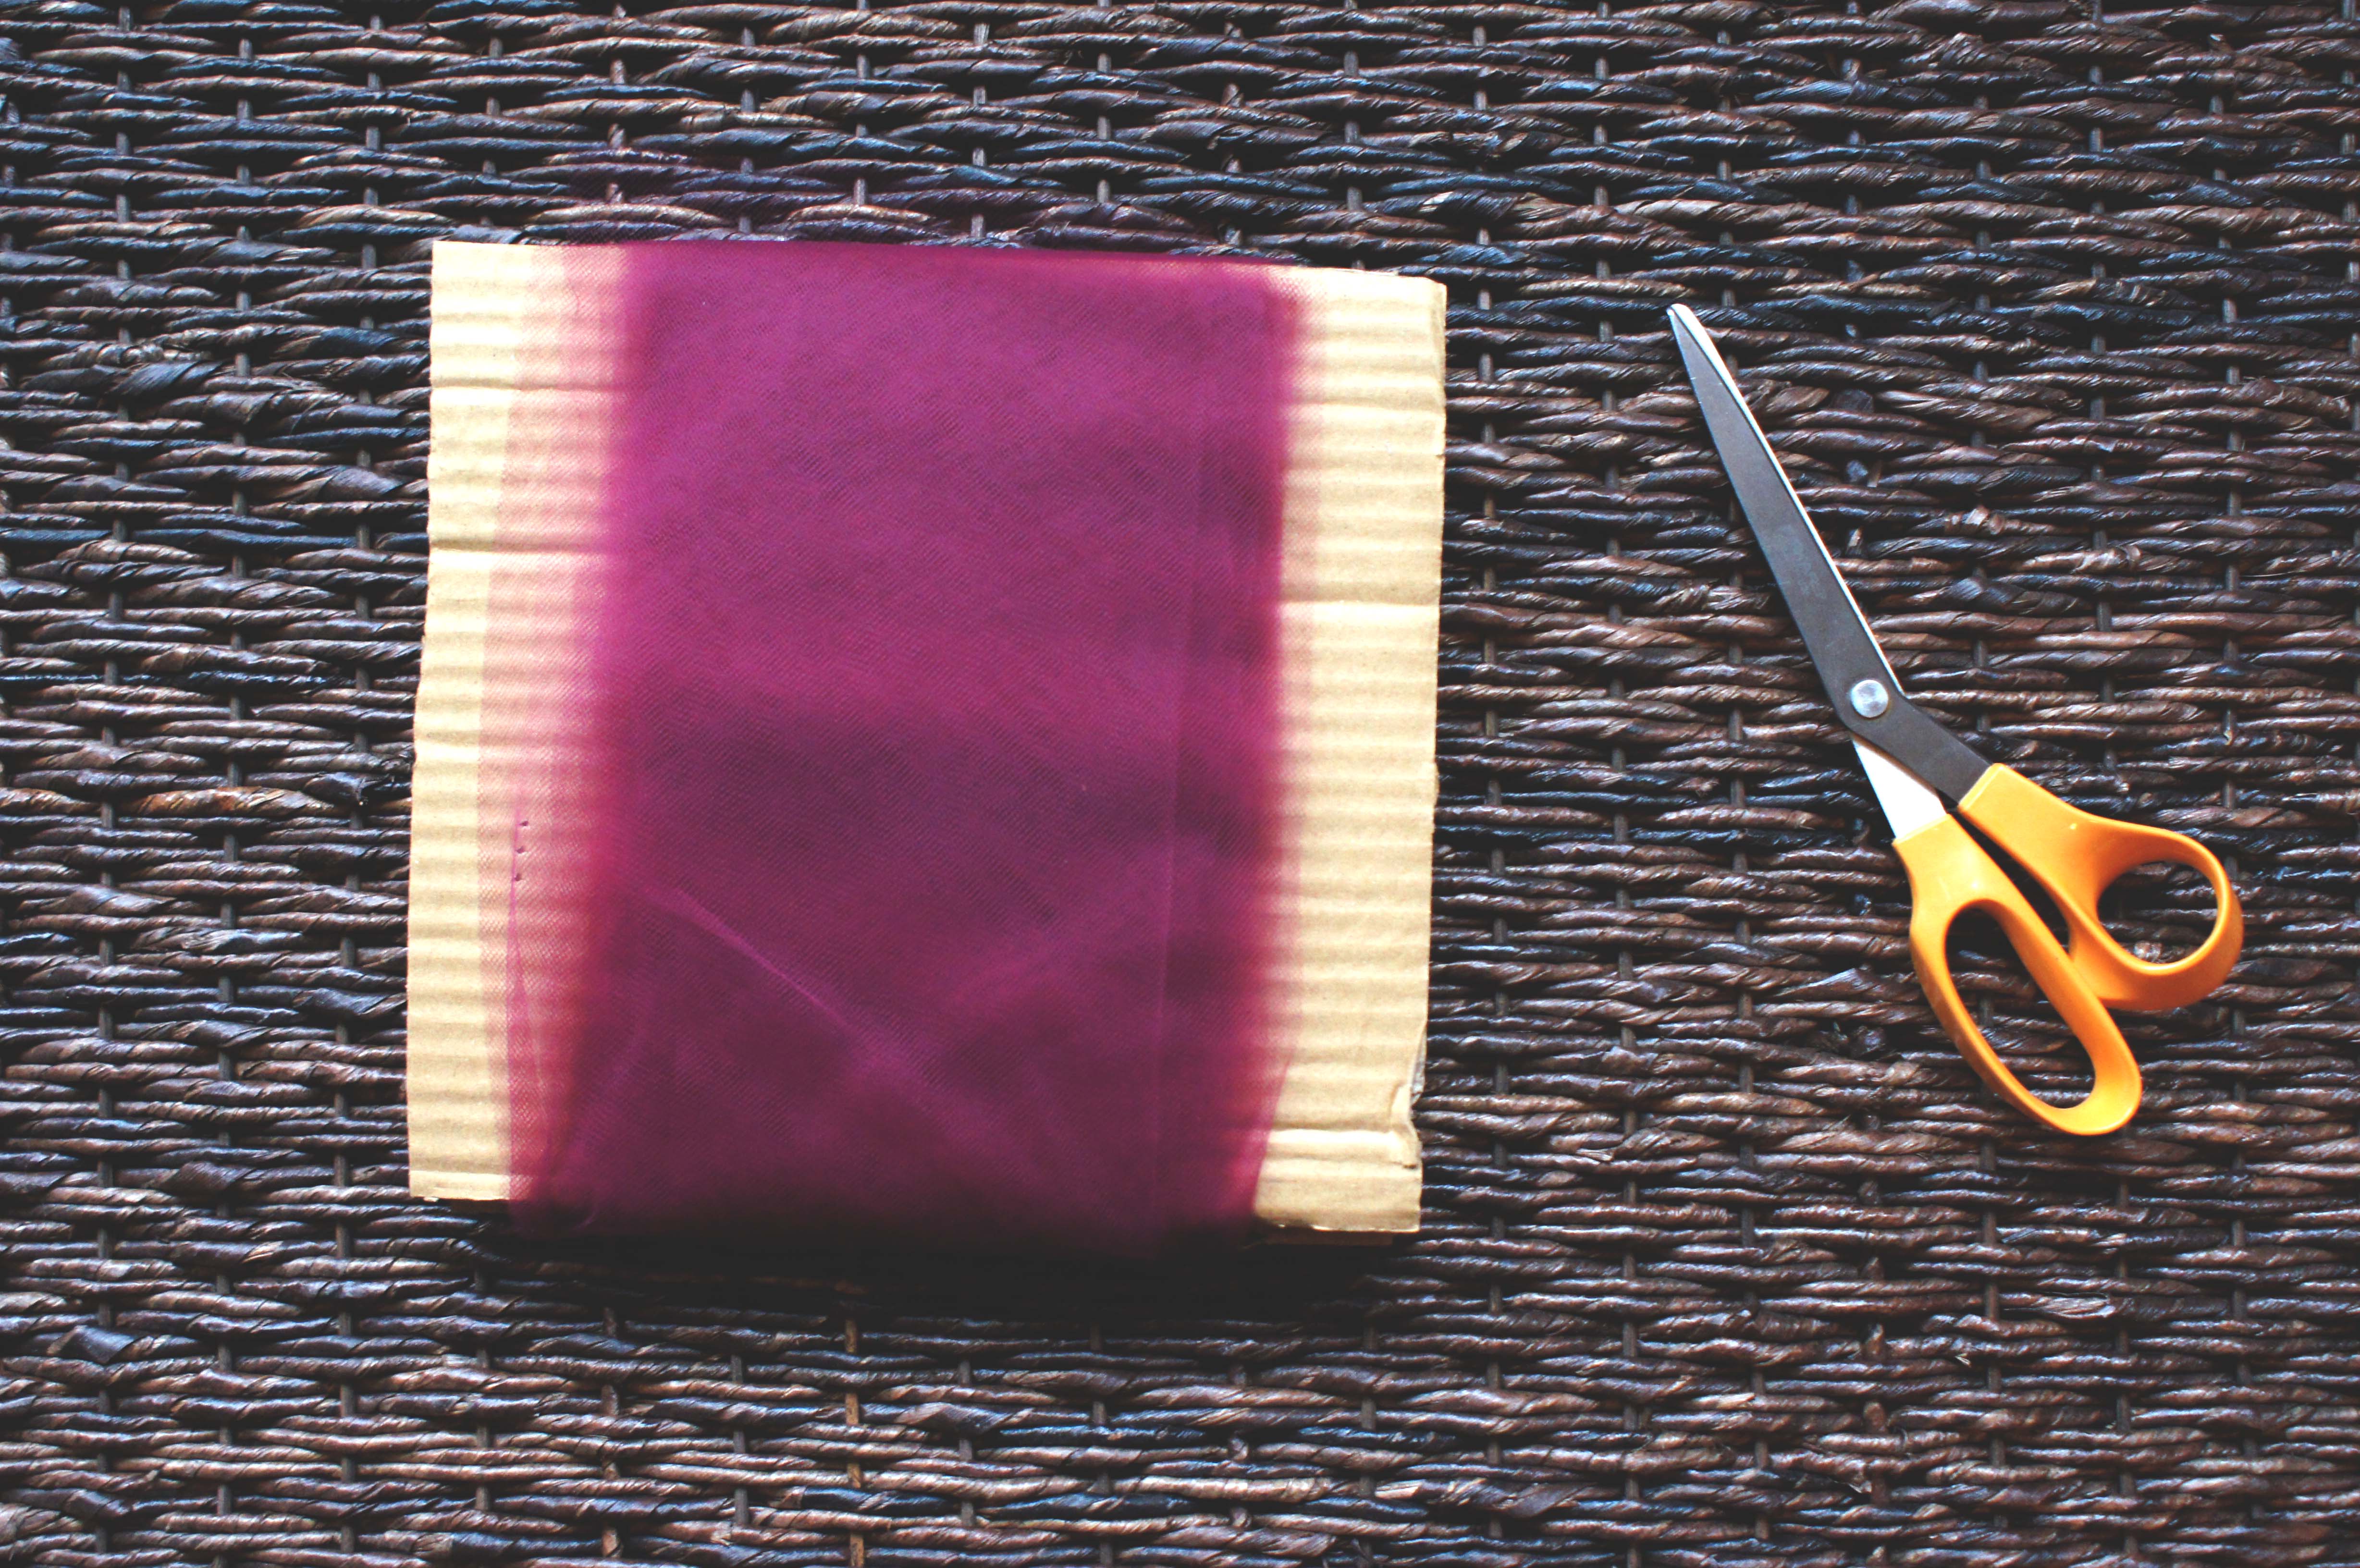
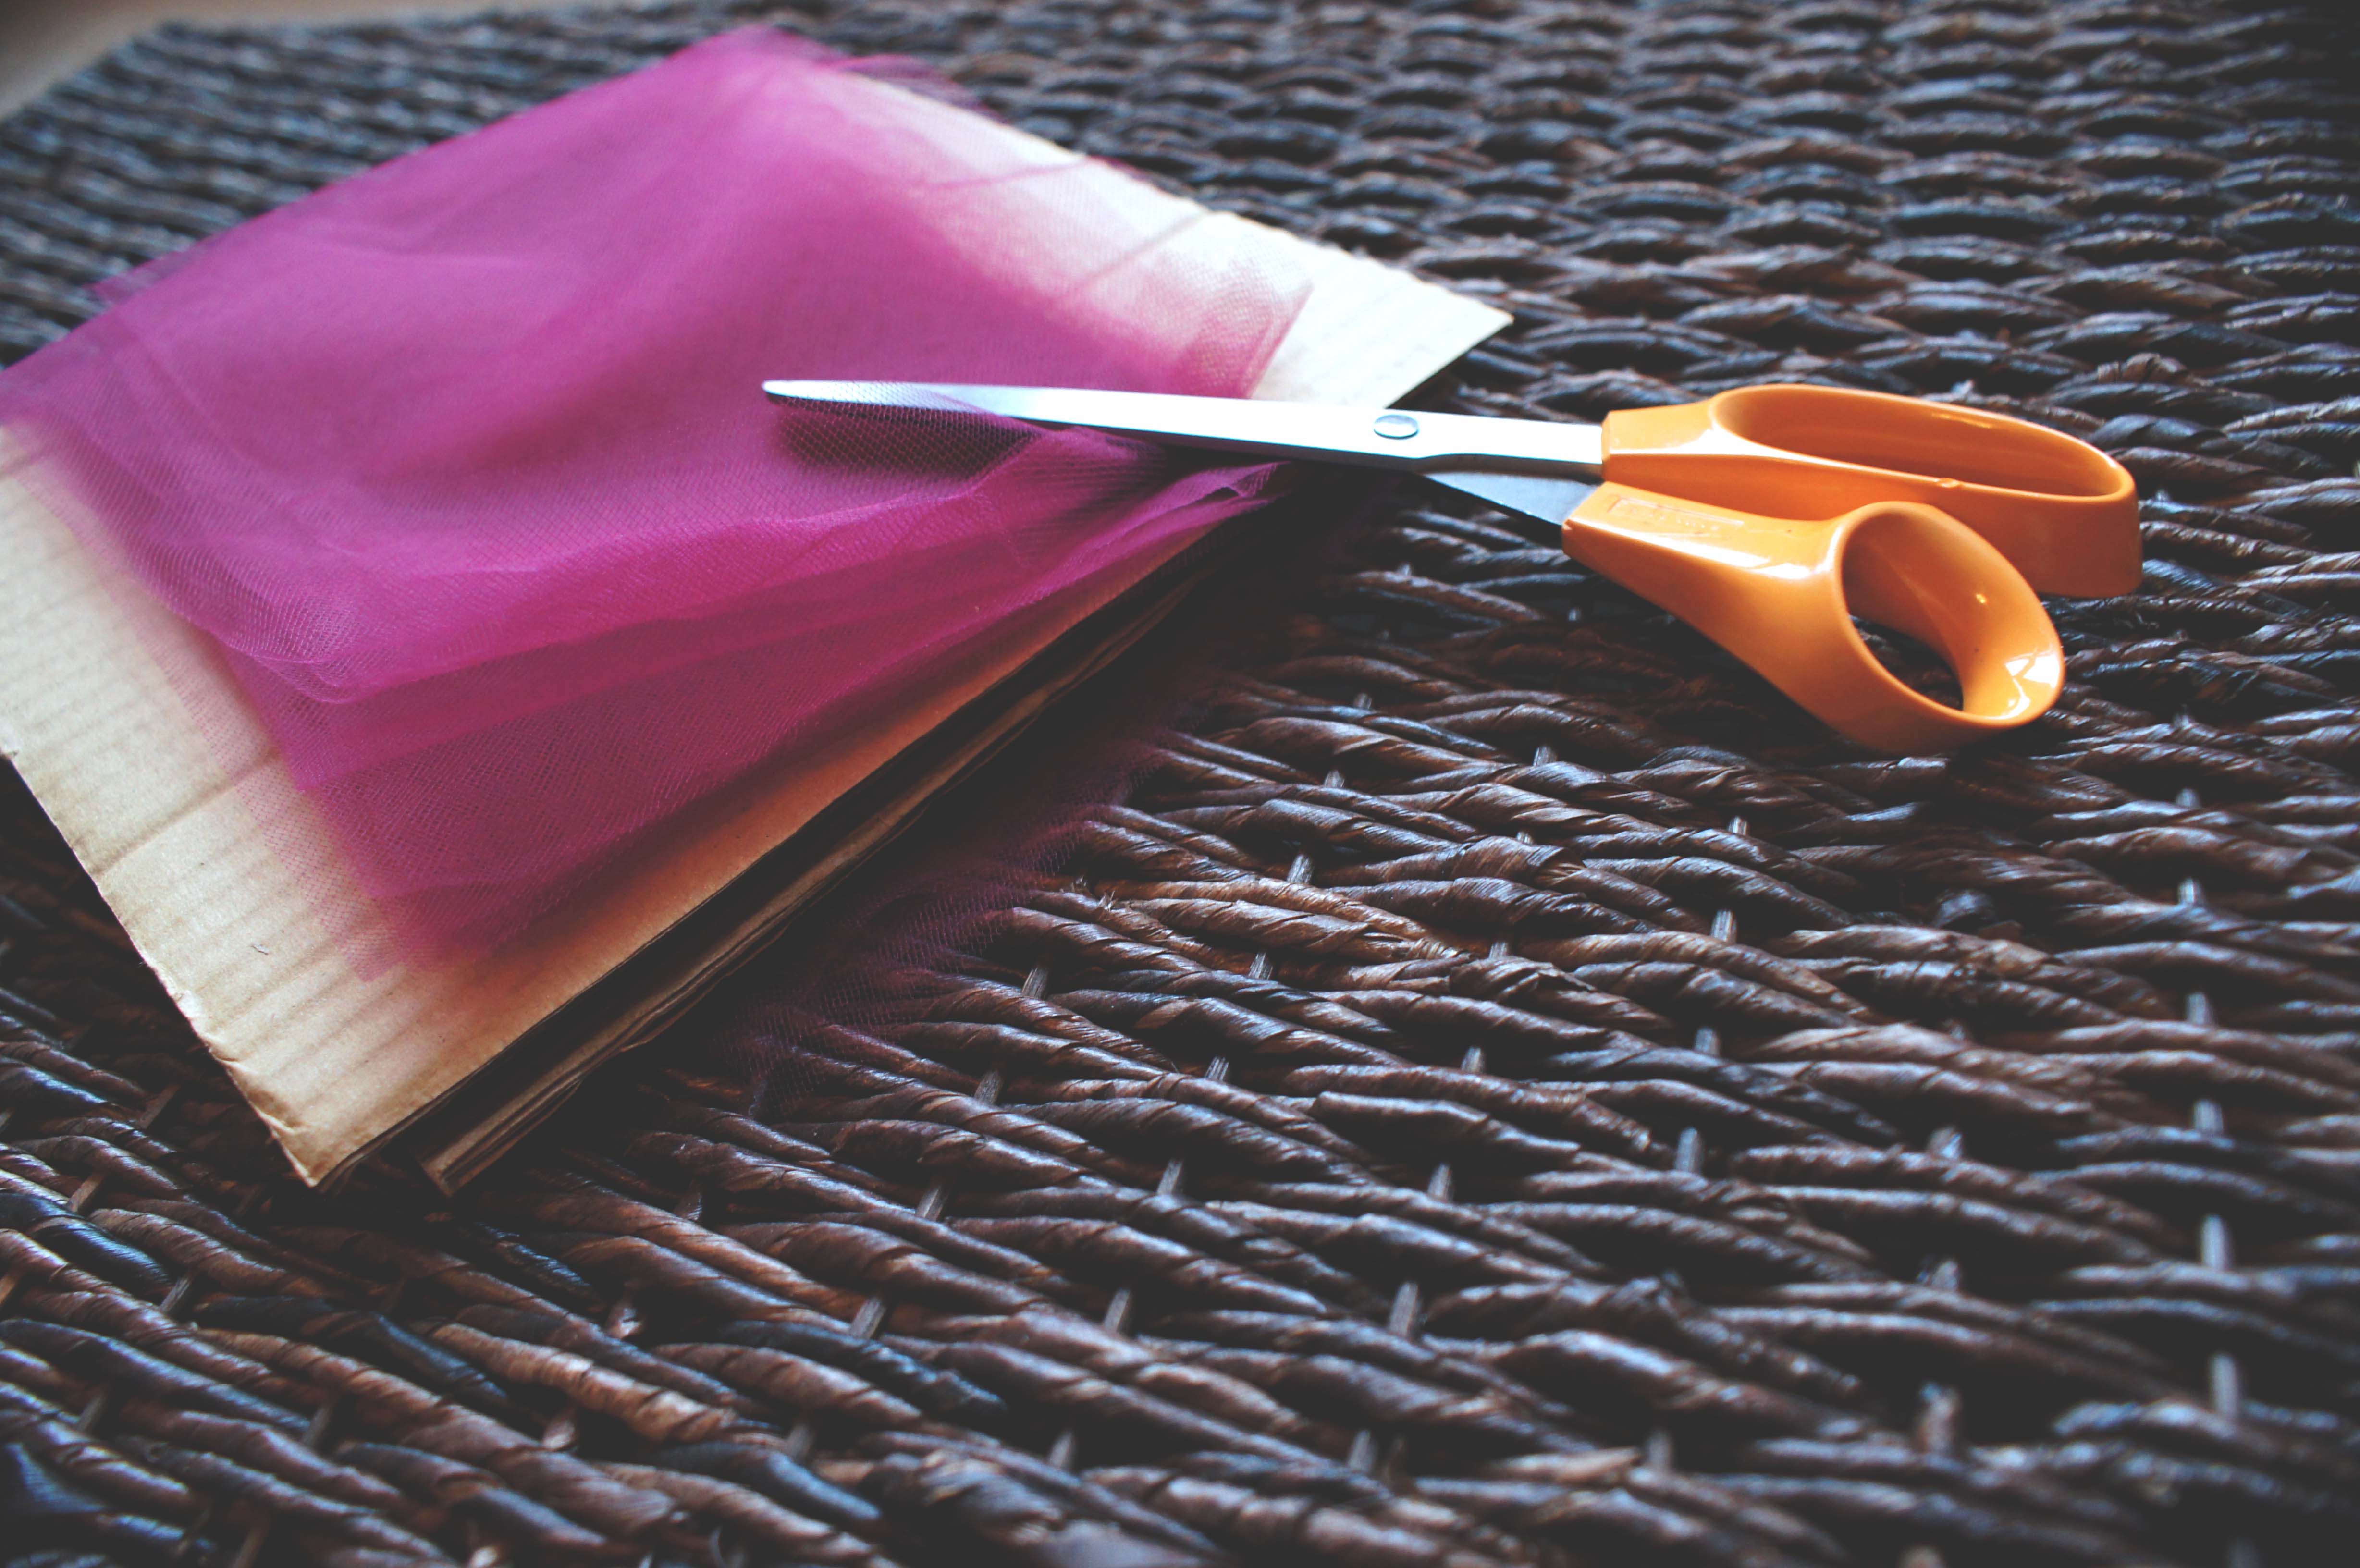
- Determine how long you want your tutu to be and cut your cardboard pieces accordingly (I wanted a 6″ long tutu – so I cut my cardboard to be 6″ long). You need to have two pieces or this method of cutting the pieces will not work out so easily.
- Wrap your tulle around the 6″ long cardboard. Cut the tulle on ONE END ONLY by putting your scissors in-between the cardboard. Walla! Now you have a stack of 12″ tulle strips.
4. Take 2-4 strips of tulle together, fold in half and do a simple slip-knot around the elastic. For the maroon tutu I did 4 strips per knot. For the pink version, I took 2 strips (one of each shade of pink) and knotted every other hole for 4 rows. Repeat all the way around.

**Note** I put my elastic over a roll of paper towels to act as a stand.


5. For the elastic version, I kept my knots pretty loose. Once you get all the way around, fluff, fluff, fluff!
6. Put tutu on a cute baby and “ooh” and “aww” away. If they are like G, they won’t know what to do and most likely will cry. BUT those 30 seconds in a tutu are super adorable!! Hope you are quick with a camera!
My pros and cons for each version –
Maroon/Elastic Fluffy Tutu
PROS: Quick, easy, moderately fluffy because I used 4 strips per knot.
CONS: Not overly fluffy, sizing is hard to gauge because you end up stretching the elastic as you knot, the elastic folds, knots are uneven.
Pink/Crochet Fluffy Tutu
PROS: SUPER FLUFFY, uniform look, ballet/princess worthy.
CONS: Really, really time consuming.
So if you want a quick tutu go with the elastic version, if you want the fluffiest tutu of them all, go with the crochet band version!

Happy crafting peeps!
xox – J


4 Comments
CH&CO
Adorable!
Judi Masson
With the headband how any rows did you tie on
did you flip around the tulle so some were darker and others lighter
not sure what you mean by 4 rows every other – I assume his is around and the row above the base would be above the empty hole in the row below
jschulman&company
Hi Judi!
I pulled the tulle through every other hole (all the way around the headband) for 4 rows and then fluffed and fluffed! I didn’t flip the tulle around but that would be a great idea to get that extra dimension with the color! xo
Pingback: